March 22 2017

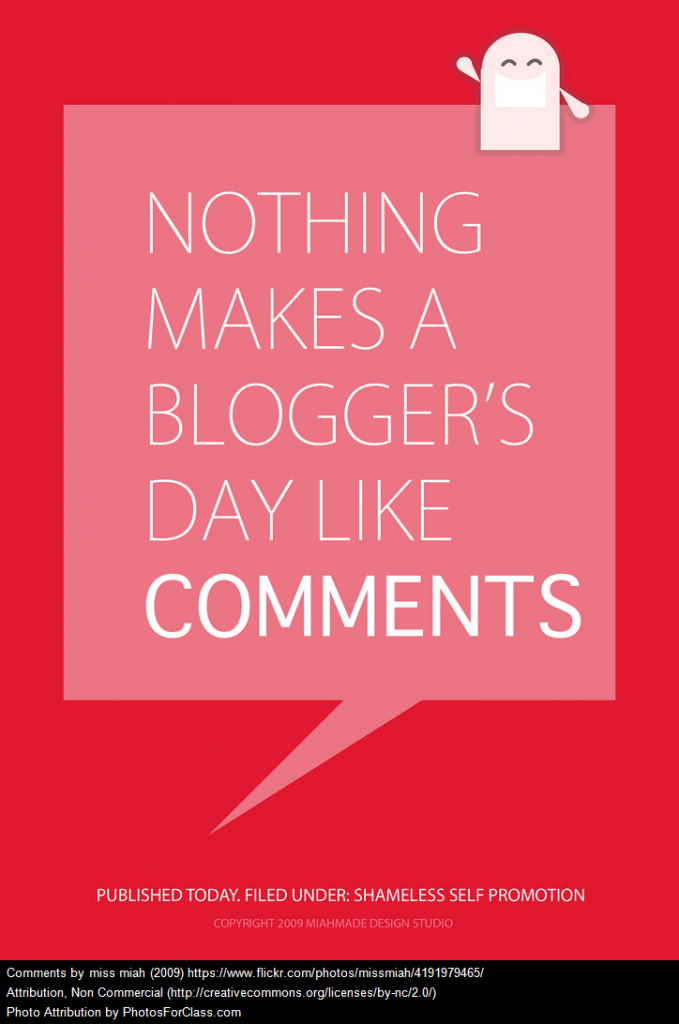
SBC Week 3: Using Images and Attribution

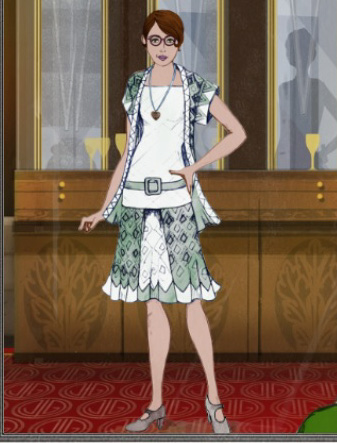
Photograph by Mana Murai used with permission from Geoff Riding & Naasicaa Jade Larson. Image created by Mrs Riding using Photo Scrap.

Using Images and Attribution

(Copied & edited from this week’s Student Edublog Challenge post)

This week’s activities are going to be fun but first there are some things you need to know so please read carefully.

“I have been visiting many blogs over the last few weeks. Some students new to blogging have been writing some great posts while others who have been blogging for a bit longer have started adding videos and images to their posts.

Yes, this week we deal with using images, music and sounds in your posts.

But can’t I use any image, music or sound that is on the internet?

No, you must use creative commons or in some cases the fair use rule.

But where can I find these images, music and sounds? Can’t I use anything when I google an image?

No, your blog is public so you must use creative commons images, sounds, music and videos.

Sue Waters over at the teacher challenge has written a fantastic post about

Step 7: Images, copyright, and Creative Commons

I would suggest you head over there to read the post. She explains about creative commons and the licences, attribution, how to find images for your blog and how to upload images to your blog. This might be very wordy… but Sue uses lots of images and how to do sections in her posts.”

I have provided a number of useful links on the sidebar of our Homepage. Check them out

If you have read the information above you are ready to have some fun.  This week I have included a few activities for you to choose from. Have fun!

Activity 1

Did you know that March 21st is ‘World Poetry Day?’ Find an appealing image and write a poem based on that image. Be sure to include attribution.

Activity 2

Create a photo gallery or poster about your interests. Remember to include attribution for each image.

Activity 3

Guess the Idiom. This idea was borrowed from our blogging buddies in the US. http://mrsvazquezsclass.edublogs.org/ They practised using images with correct attribution to represent a common idiom and then invited readers to guess what it was. An idiom is a word or phrase which means something different from its literal meaning for example:

‘to kill two birds with one stone’ (do two things at once)

‘it cost an arm and a leg’ (it was expensive),

‘it was a piece of cake’ (it was easy to do),

‘let the cat out of the bag’ (to tell a secret),

‘hit the nail on the head (get it right),

‘hold your horses’ (stop and think),

‘raining cats and dogs’ ( pouring rain)

‘to be tickled pink’ (very happy)

‘driving me up the wall’ (making me very mad or annoyed)

Do you think you could represent one of these or another idiom with images alone? Why not have a bit of fun with this activity.  You could use an App like Photo Scrap to manipulate your images. Remember to include attribution.

Go back to previous posts.

If you have used images in any previous posts you have written, then you are ethically obliged to give the correct attribution or take the image out of the post if it does not have the right creative commons license.


March 13 2017

SBC Week 2: It’s all about the comments!

Commenting: This week it’s all about the comments!

(Copied & edited from this weeks Student Edublog Challenge post)

Blogging is all about having your voice heard and connecting with others who might like to read and comment on what you have written. But as in many things we do, there are some protocols bloggers in schools like to follow.

Activity 1: Visit other student or class blogs

Visit 3 other blogs on the lists. Leave a quality comment on one post on each blog. Might be the ‘About Me’ page or another post you found interesting.  Write a post on your blog mentioning who you visited, which post you left a comment on and why, then include the comment you left. Hint: make sure you copy the comment before you hit the submit button.

OR

Activity 2: Make a set of commenting guidelines

Explain what you expect when someone leaves a comment on your blog.

  • What type of comment is acceptable?
  • Which type of comment will you put in the trash?

Here are some examples:

Huzzah commenting guidelines,  a Glogster poster about commenting, WarriorKat used a variety of tools for her guidelines, notice how Sophie included a link back to Mrs  Yollis’ blog where she got her information from, Emme created a PowToon, Darcey included some interesting points, Kyndal has her guidelines here

March 9 2017

SBC Week 1: Introduce yourself!

Create a page introducing yourself

Although many of my ‘old bloggers’ have already created an ‘about me’ page I’d like you to create an update. You have changed and grown during the past 10 months and your skillls have improved. I want to see that growth in confidence and skills in your update. Why not try something completely different. You could create a telegami, an A-Z post, a short bio, a poem or create a list of things people may not know about you. You could include information about your family, your pets, your passions and interests, favourite books and authors, music and artists, food, movies, subjects at school…

Below are instructions for creating your page.

  1. Login to your blog, go to the dashboard>pages>add new
  2. Change the title to About Me or something similar.
  3. If you only have one row of icons above the box, click on the last icon called the kitchen sink or toggle. This opens a second row which allows you to change font colours.
  4. In the box, write a bit about yourself remembering to be internet safe.
  5. When you have finished click the big button on the right side of your screen –send for review.
  6. Once you have saved your about me page, go back and delete the sample page.
  7. If your theme doesn’t show pages in the header area, then you will need to go to dashboard> appearance> widgets and drag across the Pages one to your sidebar.

Create an avatar AND a post about it

Create an avatar to use on our blogs. There are many different avatar creation sites on the web. I have explored many sites on the symbaloo of websites provided by Miss W on the week 1 challenge. Below are some of the avatars I created and links to the sites I used.

pick-a-facechibi-makercartoonify


https://pickaface.net/create-avatar.html

http://chibimaker.org/

https://www.cartoonify.de/

face-your-mangaavacharapokoyize


http://www.faceyourmanga.com/editmangatar.php

http://avachara.com/avatar/

http://www.pocoyo.com/en/pocoyizeyourself

reasonably-clever_editedgreat-gatsby_editeddude-factory


http://www.reasonablyclever.com/mini/

http://apps.warnerbros.com/greatgatsby/avatarcreator/us/

http://www.dudefactory.com/

All of the sites I have included above did not require any registration. I found the easiest way to save it when complete was to do a screen shot or capture by selecting the Print Screen (PrtSc) button on the keyboard, open Paint, paste, crop and save the image as a JPG. From there it was as easy as going to the dashboard, selecting users, your avatar and following the steps from there.

Once you have created your avatar and uploaded it to your blog I’d like you to write a post about it explaining how it represents you. See mine below for ideas. Don’t forget to include a link to the site you used to create it. Have fun!

My Avatar

pick-a-faceI chose this avatar to represent me because of all those I created, this was the one that looked the most mature. (Note I didn’t say the oldest) I gave my avatar reddish brown hair, hazel eyes and a broad nose. I also decided to put glasses on my avatar even though I don’t wear them all the time. I do need them when I am reading and working on the computer which is most of the time when I am in the library. I selected a green dress as it is one of my favourite colours to wear. The background I chose has flowers as apart from reading, gardening is my other passion. What do you think? Did I choose the right one?

I created this avatar using https://pickaface.net/create-avatar.html